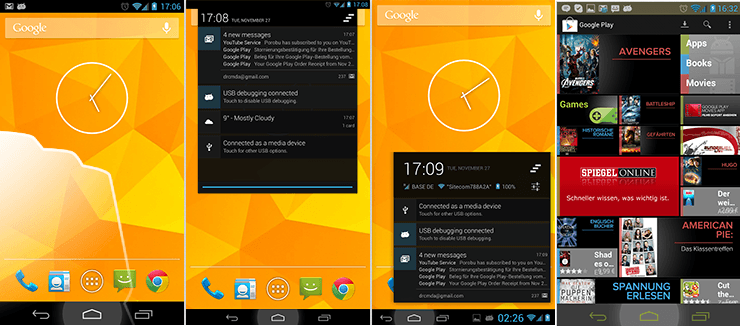
Samsung Galaxy S3 GT-I9300 device now receive the latest Android 4.3 jelly bean Super Nexus ROM. Yet there’s no any official firmware, though this is a good opportunity to taste the new JB. This after market firmware based on the newest JSS15J.
This custom ROM gives you the pure vanilla Android experience out of the box. There’s no any customizations just like the CyanogenMod. It builds using the Google’s AOSP source. Therefore there’s no any bloatware, but it doesn’t have the Google applications. Though it’s not an issue.
Apart from that, this ROM fully deodexed, zipalinged, support init.d script for best performances and installed busybox and rooted (SuperSU). In addition to that, it supports the ext and NTFS-3G file systems and available EXT4 file system optimizations.
In order to start the Android 4.3 Jelly bean on Galaxy S3, it needs a rooted and CWM or TWRP installed device. If you don’t have that requirement, you can follow the bellow requirement tutorials. Also make sure that your phone has sufficient battery power, otherwise it will interrupt the installation.
Warning!
- This post contains ROM zip file only for the Samsung Galaxy S3 GT-9300. Applying it to another device cause unexpected results.
- Installing custom ROM void the warranty of your Galaxy S3.
- This will hike the custom binary counter, but you can fix it by Triangle away app.
- Applying this tutorial at your own risk. If your phone brick or damage by following this tutorial, I can’t claim its damages.
This installation wipes everything on your phone memory including apps data, SMS, contacts etc. But it will not wipe internal or external SD card files. This ROM developed by the XDA Faryaab. Also before the installation check the existing bugs in here.
Requirement.
- Root the phone [ Guide in here ].
- Install CWM recovery [ Guide in here ].
- Make a apps and data backup [ with root | without root ]
- Backup EFS folder [ Guide in here ].
Download.
How to update Galaxy S3 I9300 to Android 4.3 jelly bean firmware with SuperNexus.
- First copy the downloaded ROM and Gapps into your internal or external SD card.
- Power off the phone.
- Press and hold the Volume Up, Home and Power buttons together until you see the recovery.
- Then navigate to “backup and restore>backup”. This step will perform a nAndroid backup and save your entire ROM into the internal SD card. From here, you can select backup to external sdcard option.
- Next navigate to “wipe data/factory reset>Yes – Wipe data”.
- After that “Wipe cache partition>Yes – wipe cache”.
- Then go to “install zip from sdcard>Choose zip from sdcard” and select where to you save the zip file. If you copied them to external SD card, choose “install from external sdcard.
- Once the ROM zip file selected, apply”install xxx.zip”.
- Next install the copied Gapps zip file.
- Now go back to the CWM recovery main menu and select “wipe data/factory reset>Yes – delete all data”.
- To reboot the phone select “reboot system now”.
- Congrats, you have just updated.
When you are updating this ROM in the future, you don’t need to wipe anything. But if you install SuperNexus over another ROM, you have to wipe.


![CyanogenMod 10 ROM Downloader Free App [ CM10 Downloader ] CyanogenMod 10 ROM Downloader Free App [ CM10 Downloader ]](https://www.androidgadgematic.com/wp-content/uploads/2012/09/CM10-Downloader.jpg)


