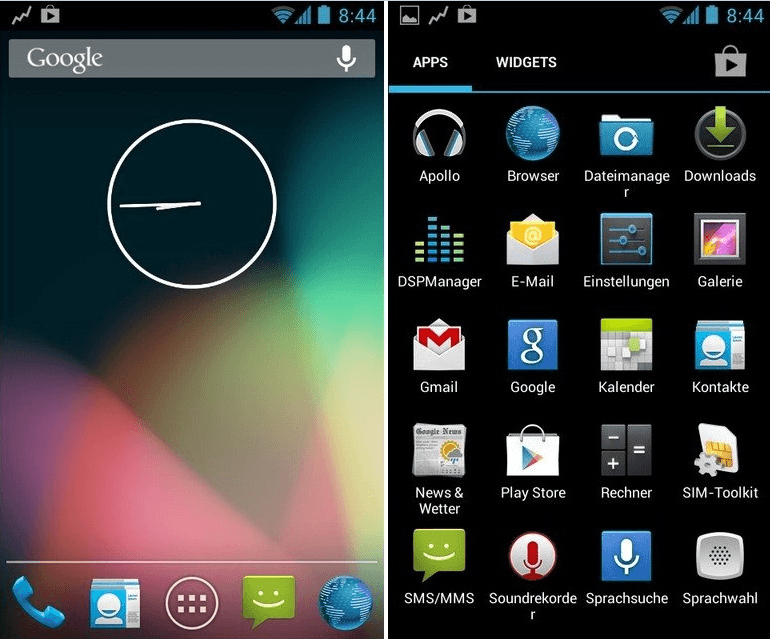
How to update Sony Xperia Miro ST23 to Android 4.1.2 jelly bean? Now we can do it by installing CyanogenMod 10 (CM 10) custom ROM on Xperia Miro. This is an after market firmware. It needs an unlocked bootloader. This tutorial I added all requirements and installation steps.
CyanogenMod comes without the Google and Sony apps, but you can install Google apps using Gapps zip file. This custom ROM installation wipes all the user data. So first make sure that you have a latest backup (if you need).
Sony mobile confirms that they are not providing the jelly bean update for this device, so updating your Xperia Moro to android 4.1.2 using CM10 is a good chance. This installation we install a CWM added kernel, so you don’t need to separately install CWM or root your device.
Warning!
This post contains ROM zip file only for the Sony Xperia Miro ST23, applying it to another device will cause unexpected errors. If your device brick or malfunction by following this tutorial, I can’t claim its damages, applying this tutorial at your own risk.
Requirements.
- Unlock the bootloader. (Guide in here)
- Charge the battery minimum 50%.
- Backup internal memory including contacts, SMS, apps.
Download.
- CyanogenMod 10 for Xperia Miro in here. (Download page contain other xperia devices ROM zip files, search mesona zip file and download it).
- Google apps in here.
- Fastboot zip file Adb+fastboot.
Table of Contents
How to install Android 4.1.2 jelly bean Sony Xperia Miro ST23 with CyanogenMod 10 custom ROM.
- Extract the fastboot zip file to the desktop.
- Extract the downloaded ROM zip file contains “boot.img” file to the fastboot folder. Make sure that fastboot exe files and boot.img files are in the same folder.
- Copy the ROM and Gapps zip files to SD card.
- Turn off your Xperia Miro.
- Wait for a few seconds to complete the power off.
- Press and hold the “Volume Up” key and at the same time connect the Xperia Miro to the PC via USB cable.
- Now you are in the bootloader mode.
- Open the fastboot folder.
- Press and hold the “Shift” key on your keyboard and at the same time right click inside that folder.
- Now you can see a Windows context menu. (If you’re on XP, you have to use this tutorial).
- Type following command line and hit the enter key.
fastboot devices
- If you got any response like “
- Make sure that you boot.img file and fastboot files are in a same folder.
- Next type following command line and press enter key.
fastboot flash boot boot.img
- After you got “finished” message disconnects phone from the PC and power on.
- When your Miro booting and you can see the “Free Xperia Project” boot logo press and release the “Volume Down” key several times to boot into the recovery mode.
- Once you have booted, first we have to make a current ROM backup. Go to “backup and restore>backup”. Your backup will save on SD card “ClockworkMod” folder.
- Then go to “wipe data/factory reset>wipe data”.
- Next “wipe cache partition>wipe cache”.
- After that go to “Advanced>Wipe dalvik-cache>Yes-wipe cache”.
- Now we are going to install the CM10 ROM on Xperia Miro.
- Go to “install zip from sdcard>Choose zip from sdcard” and select the downloaded ROM zip file.
- To start the installation chooses “Yes – Install”.
- After ROM the zip file installed, we have to install the Google apps zip file. Now you’re in the “Choose zip from sdcard” menu, select that option and choose the downloaded Gapps zip file.
- Once all the zip files installed go back to the main menu and select “reboot system now”.
- First boot takes longer time. After your phone booted up, log-in to the Google account and re-download all the necessary apps. I’m not recommending you to restore old backup apk file.
- Congratulation you have install Sony Xperia Miro ST23 Android 4.1.2 jelly bean CyanogenMod 10 ROM.
How to update the CM10 ROM.
Every weekend FXP team will release new bug fixed version. When you’re updating your existing ROM, you don’t need to wipe data/factory reset and install the kernel (boot.img) via fastboot. Sony 2012 and latest series device can install kernel using recovery. You can skip that steps, but you have to install Google apps zip file.
[via:FXP]
Related posts.
- How To Install Oppo Find5 x909 TWRP Recovery Easily [ Custom Recovery ].
- One Tap Unlock Bootloader Verizon Samsung Galaxy S3 SCH-I535 With App.
- Install Verizon Samsung Galaxy S3 Android 4.2.2 LiquidSmooth Jelly Bean ROM.
- How To Install Samsung Galaxy S3 Android 4.2.2 CyanogenMod10.1 ROM [ Jelly Bean].
- CyanogenMod 10.1 Comes With HDR Camera Functionality.


![Install Sony Live With Walkman WT19 Android 4.2.2 Jelly Bean CM10.1 ROM [ How to ] Install Sony Live With Walkman WT19 Android 4.2.2 Jelly Bean CM10.1 ROM [ How to ]](https://www.androidgadgematic.com/wp-content/uploads/2012/12/attachment+2.png)


